7 Backyard Soccer Drills for Kids
The single best thing a young soccer player can do between practices is touch a ball — and you don’t need cones, goals, or a trip to the field to make that happen. These seven backyard soccer drills for kids require nothing more than a ball, some open space, and about 20 minutes. They work for ages 5 to 14, scale up or down based on skill level, and cover the fundamentals that actually show up in games: dribbling, ball control, first touch, and footwork.
If your child is serious about improving, this is where it starts — not at practice once a week, but in the backyard every day, working through simple backyard soccer drills for kids that build real game skills over time.
Why Backyard Soccer Drills for Kids Actually Work
Research on youth athlete development consistently shows that unstructured and semi-structured practice outside of formal training is one of the strongest predictors of long-term skill development. A study comparing children’s self-organized football play with organized training found that free play produces more shots on goal, more one-on-one situations, and more ball touches and ball transport than structured training sessions, and that kids spend more overall time active during free play, with fewer breaks, compared to organized practice. In short, kids who touch a ball at home — even for 10 or 15 minutes — improve faster than those who only train at practice according to FrontiersFrontiers.
The backyard is also low-pressure. There’s no coach watching, no teammates to compare against, no score. That freedom is where real creativity and confidence get built. Some of the best players in the world developed their skills not on manicured fields, but in small spaces with a ball and time to experiment.
You don’t need any equipment for these drills — just a ball and space to move. If you haven’t picked the right ball size for your child’s age yet, our guide to choosing the right soccer ball covers it quickly.
7 backyard soccer drills for kids
Drill 1: Cone Dribbling (With or Without Cones)
What it builds: Close ball control, change of direction, both-foot dribbling
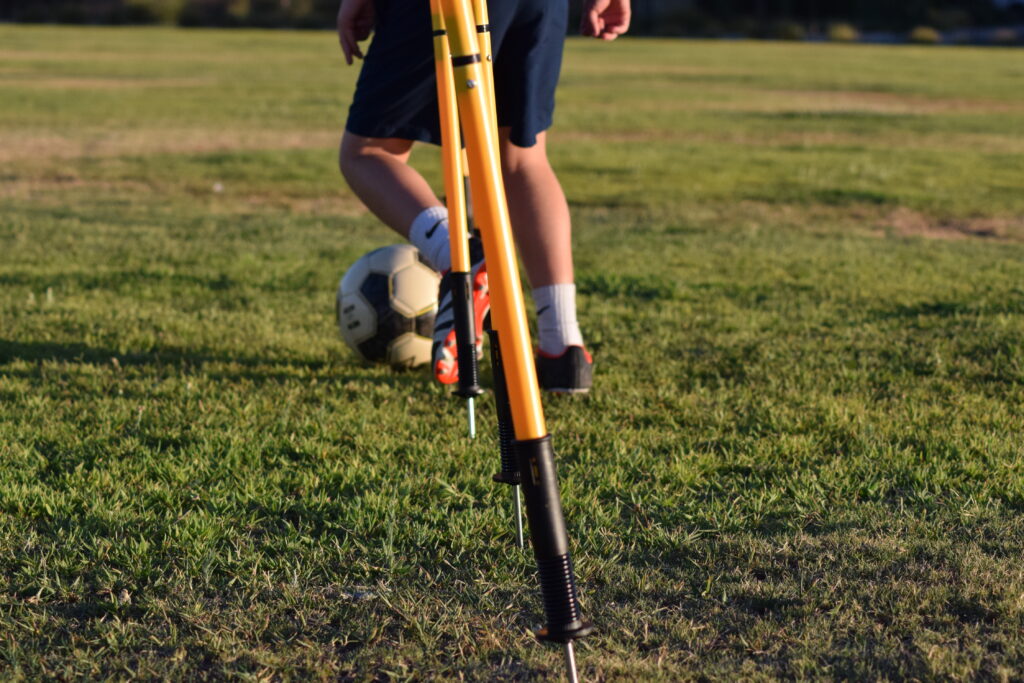
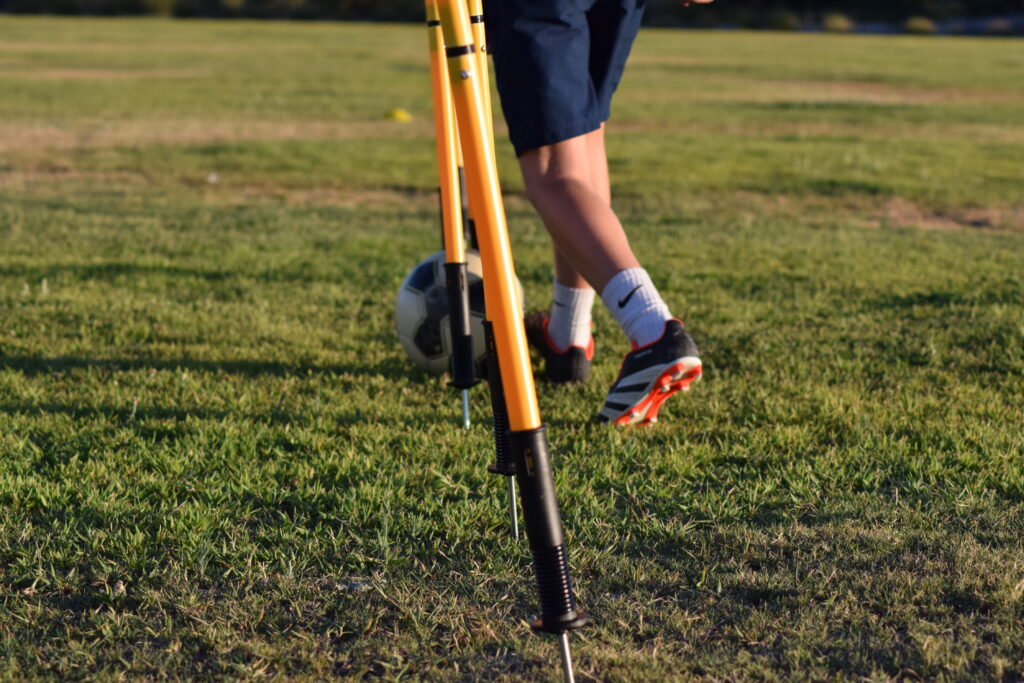
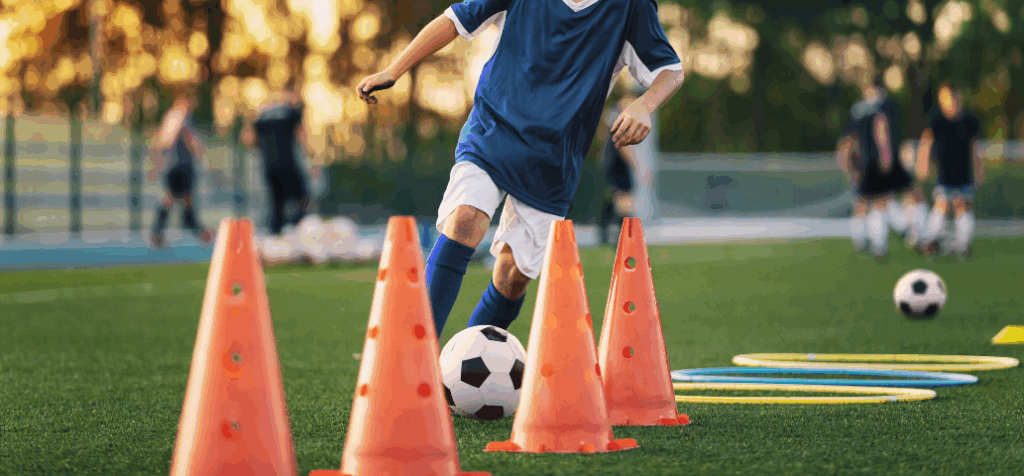
Pick a straight line across your yard — about 15 to 20 feet. Set up 5 or 6 objects to weave through: water bottles, shoes, sticks, or just imaginary points spaced 3 feet apart. Have your child dribble through them using the inside and outside of both feet, keeping the ball close and their head up.
Start at a walking pace to get the pattern right, then build to a jog. Once they’ve got it, add a challenge: touch the ball with the outside of the foot only, or use only their weaker foot for a full run through.
The real-world application is direct — this is exactly what players do when beating a defender in a tight space. Kids who practice this at home develop noticeably better close control than those who don’t.
Progression: Time each run and try to beat it. Add a stop-and-go variation where they freeze at every other “cone” before accelerating forward.
Drill 2: Wall Passing
What it builds: First touch, passing accuracy, receiving technique
If you have a wall, fence, or garage door, this is the most valuable drill on the list. Kick the ball at the wall and control the return. That’s it.
The key is what you do with the return — don’t just stop it, control it with one touch and prepare for the next pass. Practice receiving with the inside of the foot, the outside, and the sole. Switch feet. Move closer or farther from the wall to change the pace.
This drill is deceptively effective because it mimics the rhythm of real passing sequences: receive, set, pass, receive again. Players who wall-pass regularly develop a much cleaner first touch than those who don’t. Even 10 minutes a few times a week makes a noticeable difference within a month.
Progression: Challenge your child to complete 20 consecutive passes without the ball getting away. Count out loud — the pressure of keeping the streak alive teaches focus under mild stress.
Drill 3: Juggling
What it builds: Ball feel, coordination, both-foot touch, concentration
Juggling — keeping the ball in the air using feet, thighs, and chest — is one of the best indicators of overall ball skill. It’s also one of the most effective ways to develop feel for the ball. A systematic review of youth soccer training methods found that deliberate juggling practice produced meaningful improvements in ball control performance compared to players who did no active practice — which is exactly why this simple, equipment-free drill earns a spot on almost every list of effective backyard soccer drills for kids.
Most beginners can’t juggle at all at first, and that’s fine. Start with this progression:
Drop the ball, let it bounce once, kick it back up, catch it. Repeat until that feels natural. Then try drop, bounce, kick, bounce, kick, catch. Work toward continuous touches without letting it hit the ground.
There’s no shortcut here — juggling improves with repetition over weeks and months, not days. But kids who stick with it develop ball control that shows up in every aspect of their game.
Progression: Track personal records. Five in a row becomes a target, then ten, then twenty. Personal records make this drill self-motivating — kids will work at it on their own once they have a number to beat.
Drill 4: Stop and Go Dribbling
What it builds: Explosive acceleration, ball control at speed, body coordination
Set two points about 20 feet apart. Dribble hard from one to the other, stop the ball with the sole of the foot, turn, and dribble hard back. The stop should be sudden — plant the foot on top of the ball, freeze, then explode in the other direction.
This drill builds the acceleration and deceleration pattern that shows up constantly in games when players receive a pass, change direction quickly, or beat a pressing defender. It also develops sole-of-foot control, which most young players underuse.
Add a variation: instead of stopping dead, use a drag-back to change direction — pull the ball backward with the sole, then push forward with the inside. This is one of the most useful one-on-one moves in the game and can be learned in the backyard in a few sessions.
Progression: Time a set of 10 full runs. Try to beat the time while keeping the ball under control. Speed without control doesn’t count.
Drill 5: Shooting at a Target
What it builds: Shooting technique, accuracy, striking with both feet
You don’t need a goal for this. Pick a target on a fence or wall — a chalk mark, a piece of tape, a specific plank — and shoot at it. Focus on technique: plant foot beside the ball, locked ankle, follow through toward the target.
For younger kids (under 8), the goal is just consistent contact with the laces and some idea of where the ball is going. For older kids, introduce the instep drive for power, the inside-of-foot pass for placement, and eventually bending the ball with the outside of the foot.
Shooting with the weaker foot is uncomfortable at first. That discomfort is exactly why it’s worth doing. Players who can finish with both feet are far more dangerous and far harder to defend.
Progression: Create a scoring game — 10 shots, one point for hitting the target, two points for hitting the exact center. Keep a running score across sessions.
Drill 6: First Touch Receiving
What it builds: Controlling passes under pressure, directional first touch
This one is easiest with a parent or sibling, but can also be done solo against a wall. The idea is simple: receive the ball and control it with one touch in a specific direction, then pass it back.
Have a parent roll or throw the ball from different angles and at different speeds. The child’s job is to take a first touch that sets them up for a next move — not just stop the ball, but move it somewhere useful. Left, right, forward, or cut back.
This is one of the biggest skill gaps between recreational players and competitive players. Most rec players stop the ball and then decide what to do. Better players use their first touch to already be moving toward their next action. The backyard is the perfect place to build that habit. If you want to understand how this connects to overall game intelligence, our post on soccer IQ for youth players explains it well.
Progression: Add a verbal cue with each pass — “left,” “right,” “forward” — so the child has to process where to control the ball before it arrives.
Drill 7: 1v1 Backyard Challenge
What it builds: Dribbling under pressure, defending, competitive intensity, creativity
Set up a small goal (two water bottles, two shoes, anything) at each end of a short space — 15 to 20 feet. Play 1v1 with a parent, sibling, or friend. First to three goals wins.
This is the most game-like of all the drills because it involves actual pressure. The child has to dribble past a real defender, make decisions quickly, and deal with not always winning. Both of those things — decision-making and handling adversity — are core parts of what youth soccer is actually trying to develop.
Small-sided games like this are how most elite youth programs in the world structure their training because kids learn more from playing than from drills. The backyard version might not look like a training session, but it’s one of the most effective things you can do.
If you want to understand why small-sided games work so well for development, our post on small-sided soccer games goes deeper.
Progression: Change the rules to add constraints — can only score with the left foot, must complete three passes before shooting, defender can only use one foot. Constraints force creativity.
How to Structure a Session Using Backyard Soccer Drills for Kids
You don’t need a formal plan. Even 15 minutes of quality touches is meaningful. But if you want structure, here’s what works:
A quick session (15 minutes) after school or before dinner: 3 minutes of juggling or wall passing to warm up, 8 minutes on one or two drills from the list above, 4 minutes of 1v1 or free play to finish.
A longer session (30 minutes) on weekends: 5 minutes of juggling, 10 minutes cycling through two or three drills, 10 minutes of 1v1 or shooting games, 5 minutes of free play — whatever they want to do with the ball.
The most important principle is consistency over intensity. Ten minutes every day beats a 90-minute session once a week for skill development at this age. Keep it short enough that they want to come back the next day.
For a full look at how to support your child’s development at every level, our complete guide to youth soccer for first-time parents is worth a read.
What to Look for as Your Child Improves
In the first few weeks, expect awkward touches, the ball getting away often, and some frustration. That’s completely normal — it means they’re working at the edge of their ability, which is where learning happens.
By week four or five you should start to see smoother control during the dribbling drills, more consistent wall passes, and maybe a few consecutive juggles. By two months, those improvements should start showing up in practice and games — better first touch, more comfort on the ball under light pressure, less hesitation when receiving a pass. That kind of steady progress is the whole point of building backyard soccer drills for kids into a regular routine rather than treating them as a one-time activity.
The goal isn’t to turn the backyard into a training facility. It’s to give your child enough time with the ball that they start to feel comfortable with it — the way a kid who grew up kicking a ball against the garage wall just feels different on the field than one who only plays in organized settings.
That comfort is hard to teach. But it’s very easy to develop, one backyard session at a time.
For a good warmup routine to use before any practice or game, check out our essential youth soccer warmup routine.
And when your child is ready to take their game to the next level, our post on what coaches look for in youth players gives a clear picture of what really matters when it counts.
FAQ’s
For most kids, 15 to 20 minutes is plenty for a weekday session. Longer on weekends if they’re motivated. Consistency matters more than duration — shorter sessions done regularly beat occasional long ones
Most of these drills work from age 5 up. Younger kids (5–7) do best with juggling, stop and go dribbling, and 1v1 games. Older kids (8–14) benefit most from wall passing, first touch work, and the cone dribbling progressions.
No. Every drill on this list can be done with just a ball and improvised markers — shoes, water bottles, sticks, or just visual reference points. Equipment helps but isn’t necessary to get real benefit
Keep sessions short, let them pick the drill, and make the 1v1 game a regular ending point — competitive play holds attention better than drills. It also helps to track something simple like a juggling personal record or a shooting score, since kids tend to stay engaged when there’s a number to beat.
Most kids start showing improvement in touch and comfort on the ball within four to six weeks of consistent backyard practice. It shows up first in how relaxed they look when receiving a pass, then later in their decision-making and confidence in tight spaces.